Posts

SLA print: preform

Image
 Here is my SLA print final, I figured instead of overcomplicating things I might as well have an object and I just made a simple bowl, but it looks very cool with the pattern. I moved it into preform and manually added all the support structures. All the support nodes are on the outside surface of the object so it will be easy to sand off any marks after the supports are removed. 

CNC Machine Print

Image
  For the final project to make something on the CNC machine, I came up with this set of shallow dishes for holding jewelry and such. If I had to pick one, I would probably make the middle-sized one. For the CNC machine, I would make a negative mold of the object.  This is the definition I used in Grasshopper to make my object. 

SLA Print - sort of

Image
 My SLA print model has been having some real infuriating issues so I'm putting it on the backburner temporarily.  My design is of repeating heptagon pinwheel type shapes, and just figuring out where the bounding box goes to create a repeating pattern was very difficult so I'm very proud I was able to achieve that.  However, when I went to surface morph the design to my object, things started to get really ugly. My brep was a whole polysurface so I chose to split it into surfaces before using the same definition on each surface, but some surfaces like the circle face (surface morphed as a square??) and the end partial sphere (surface morphed as the whole sphere I created the shape from even though it doesn't exist anymore) proved very frustrating to deal with as I couldn't understand what the damn problem was.  To fix this issue, I think my only solution would be to create a simpler shape to surface morph my design onto because this is getting ridiculous. 

3lephant

Image
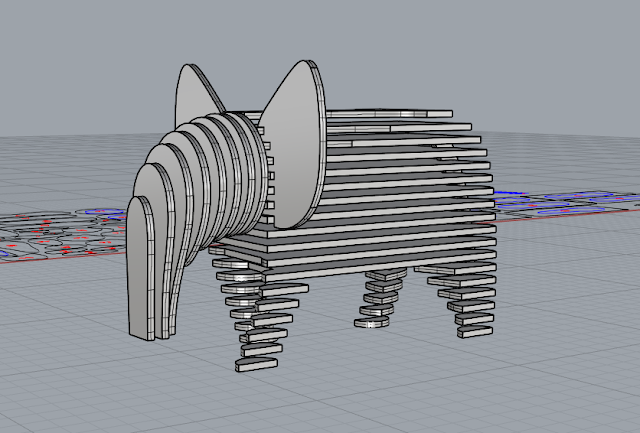
 I've finished up the model of my elephant and sliced it, and also started putting together physical prototypes.  He is so cute, I'm pretty happy with my final model.  The first wood prototype I made wasn't scaled to the material thickness correctly when prepping it to be lasercut, so he turned out really wide. He looks more like an aardvark or something, honestly.  My original method for having the ears made up of individual slices proved to not work (of which I do not have documentation of unfortunately) because some of the slices near the tips of the ear shapes were just way too small for the lasercutter to cut, let alone cut the tiny spacers that would go in between them.  I decided to change the design so it would be made of one singular cut piece that would slat into the slices horizontally. Ideally.                 My second attempt at a physical prototype, I decided to use cardboard so that expensive material is not unnecessarily wasted again. This time, he looks al

Elephant Progress: part 2 electric boogaloo

Image
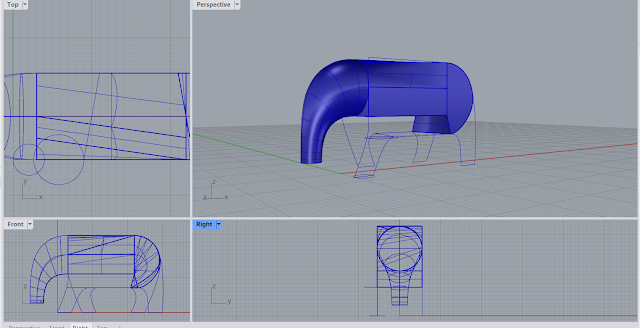
 For this week's progress post, I wanted to take advantage of the fact that the project date was extended and to refine my elephant model. I'm using more lofts and constructing surfaces to create more precise polysurfaces, rather than my previous approach of sculpting a blobby network surface. A more structured and even geometric design will translate a lot stronger into the stacked layers of laser-cut material than my original more organic object. 

Elephant Progress

Image
 For the first milestone project of the semester, I've started sculpting an elephant that will be split into multiple flat surfaces lengthwise and then be laser-cut. 

DNA Helix with a slight taper

Image
      I got very lost and confused during the tutorials during class so I used this tutorial by GH Tutorials as the framework for my definition.  https://www.youtube.com/watch?v=TT5a7HZxaE0   The remap numbers function was only used to control the taper of the definition using a graph mapping function, I couldn't figure out how to make it do anything else for me.  dna.gif